
How can I control sounds using a microcontroller?
Think About
How do people design instruments to control sound?
How do people control sound with instruments and interfaces?
How can I control sounds using a microcontroller?
Get Started
- Take a look at some ways people interact with sensors to control sound
To use sensors in projects, we need to know about inputs and outputs.
Output – causes something to happen in your local environment.
Input – read or senses something from the local environment
- Categorize the following as outputs or inputs:
- Button
- Slider
- Temperature
- Knob
- LED
- Photo sensor
- Speaker
- Motor
Interested in finding out more about inputs and outputs?
Here is some technical information on using digital pins as input or output on the Arduino.
Go Further
There are two parts to building your interface:
- building the circuit
- coding the microcontroller
Building the Circuit
The circuit you build will be almost identical to the circuit you built in the earlier XP
You will need all of the materials from XP5a along with the following materials: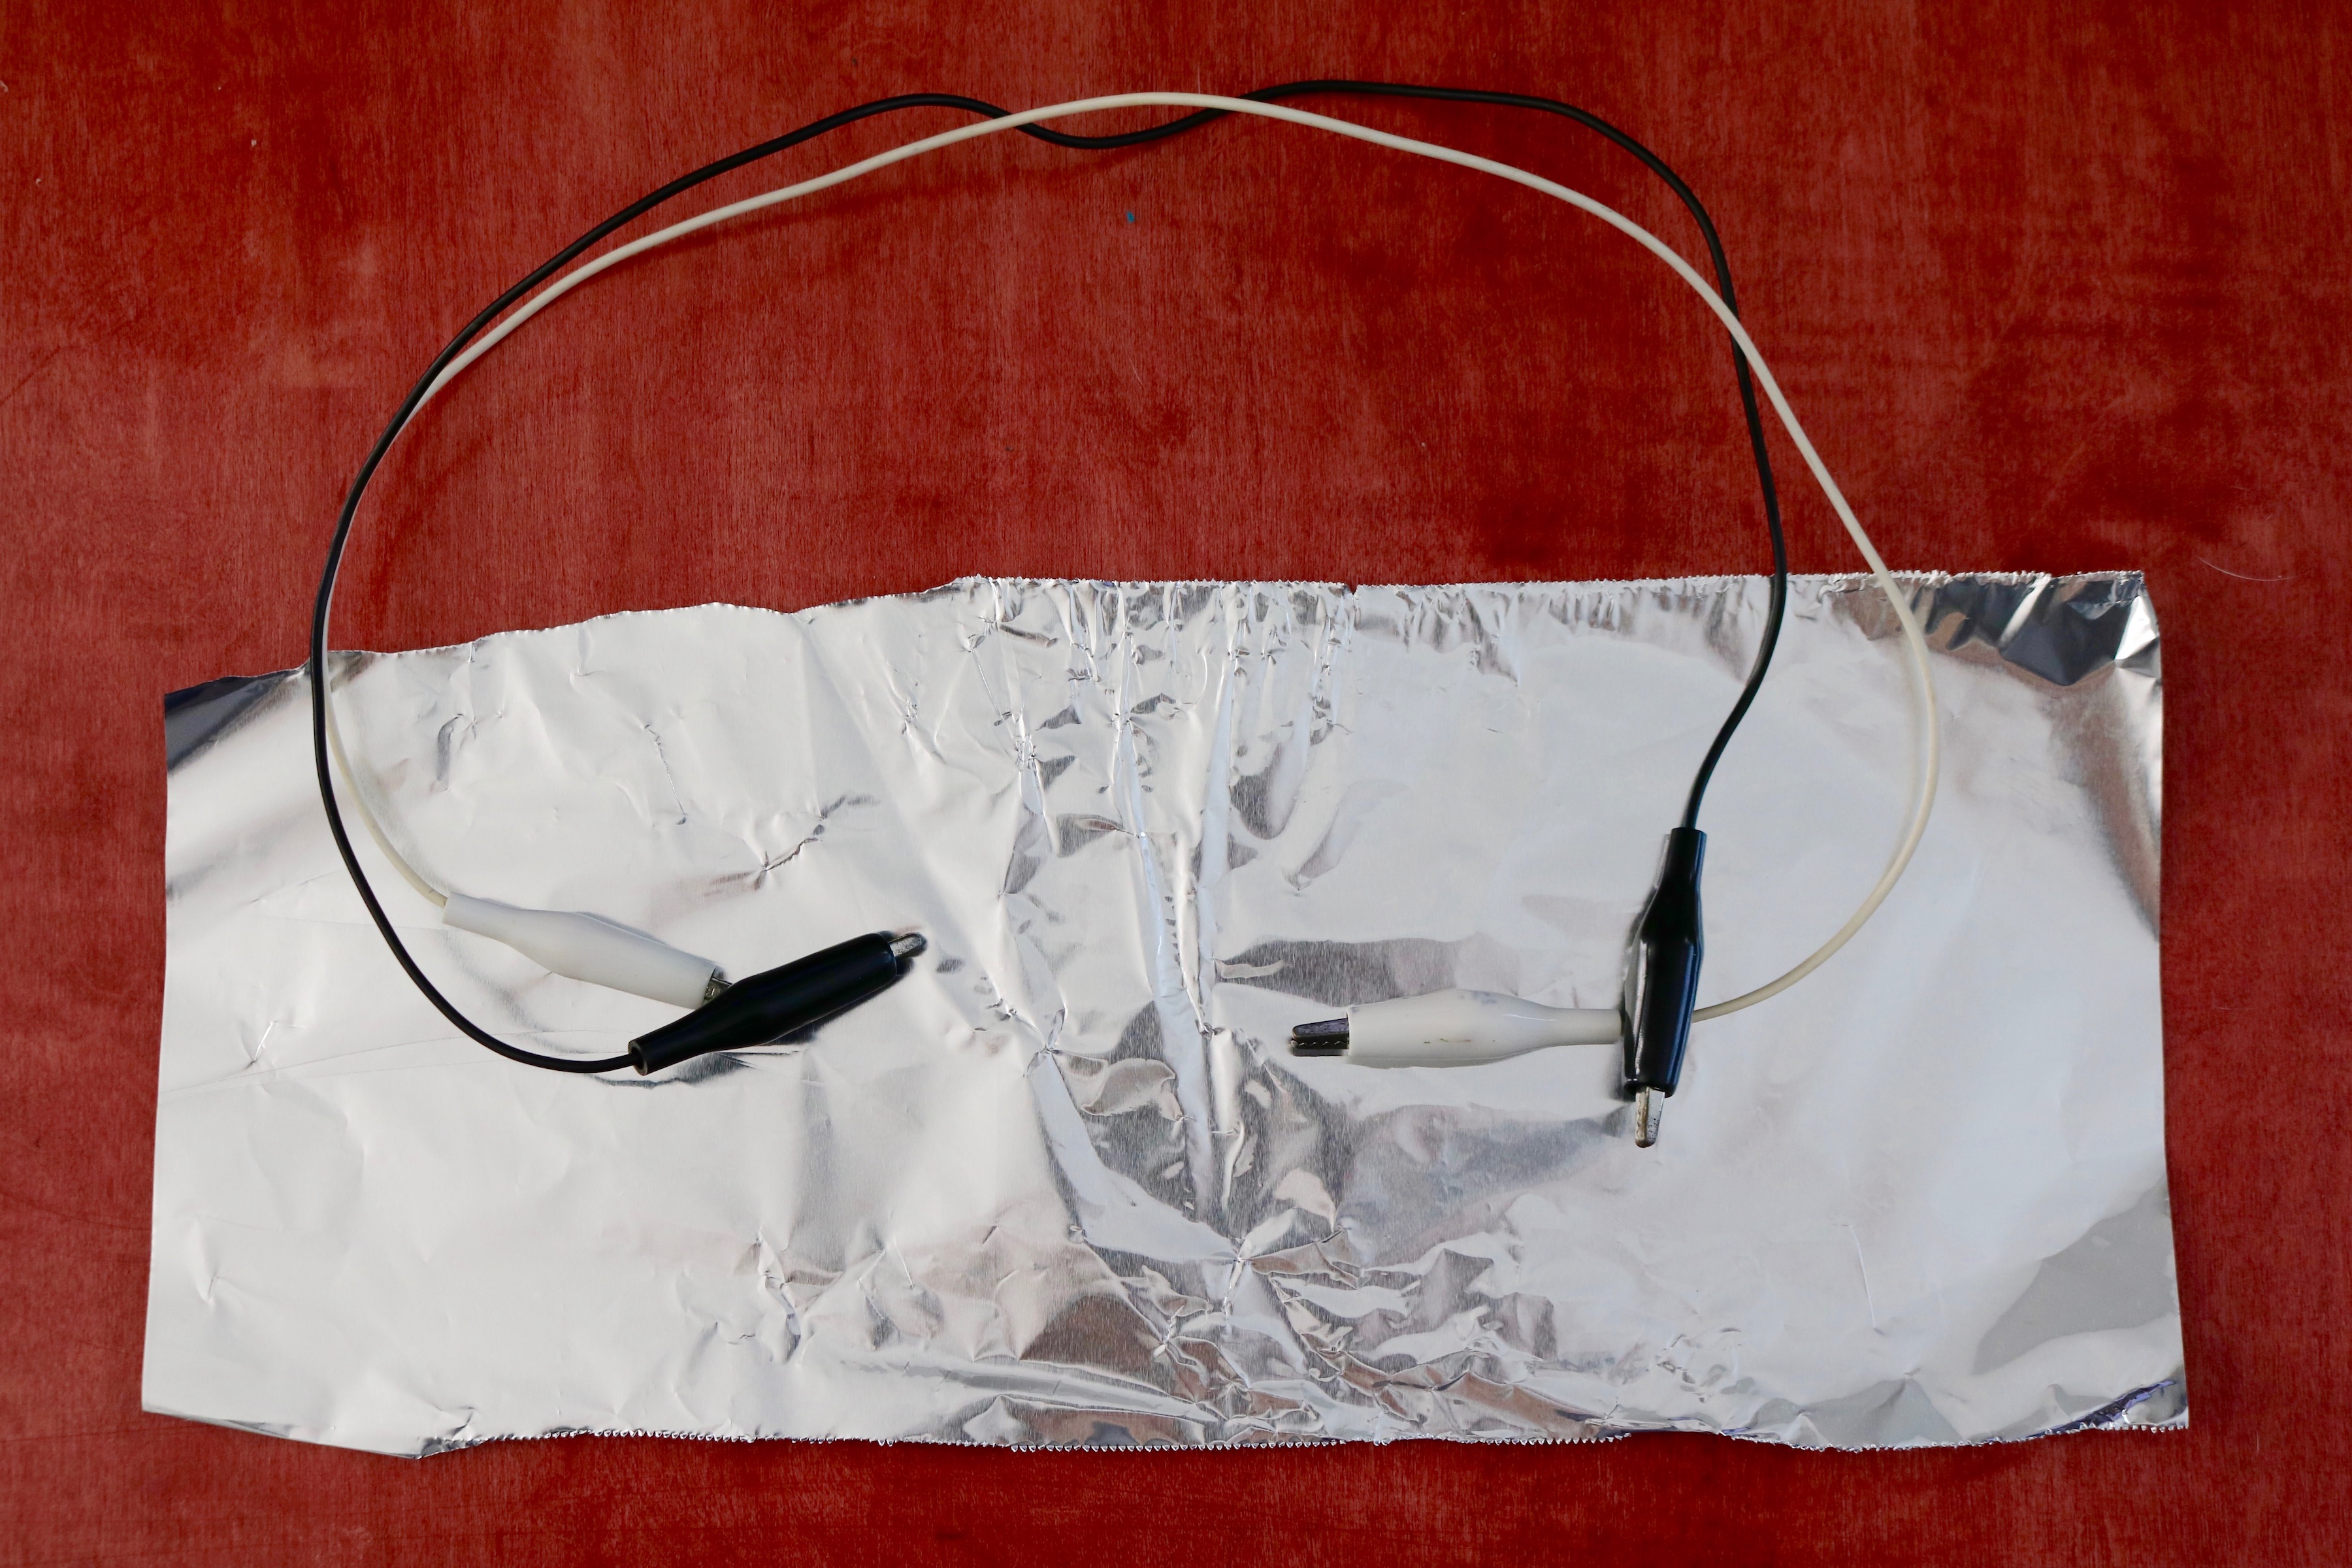
- alligator clips
- scissors
- wires
- aluminum foil
- (optional) arcade button or other type of electronic button
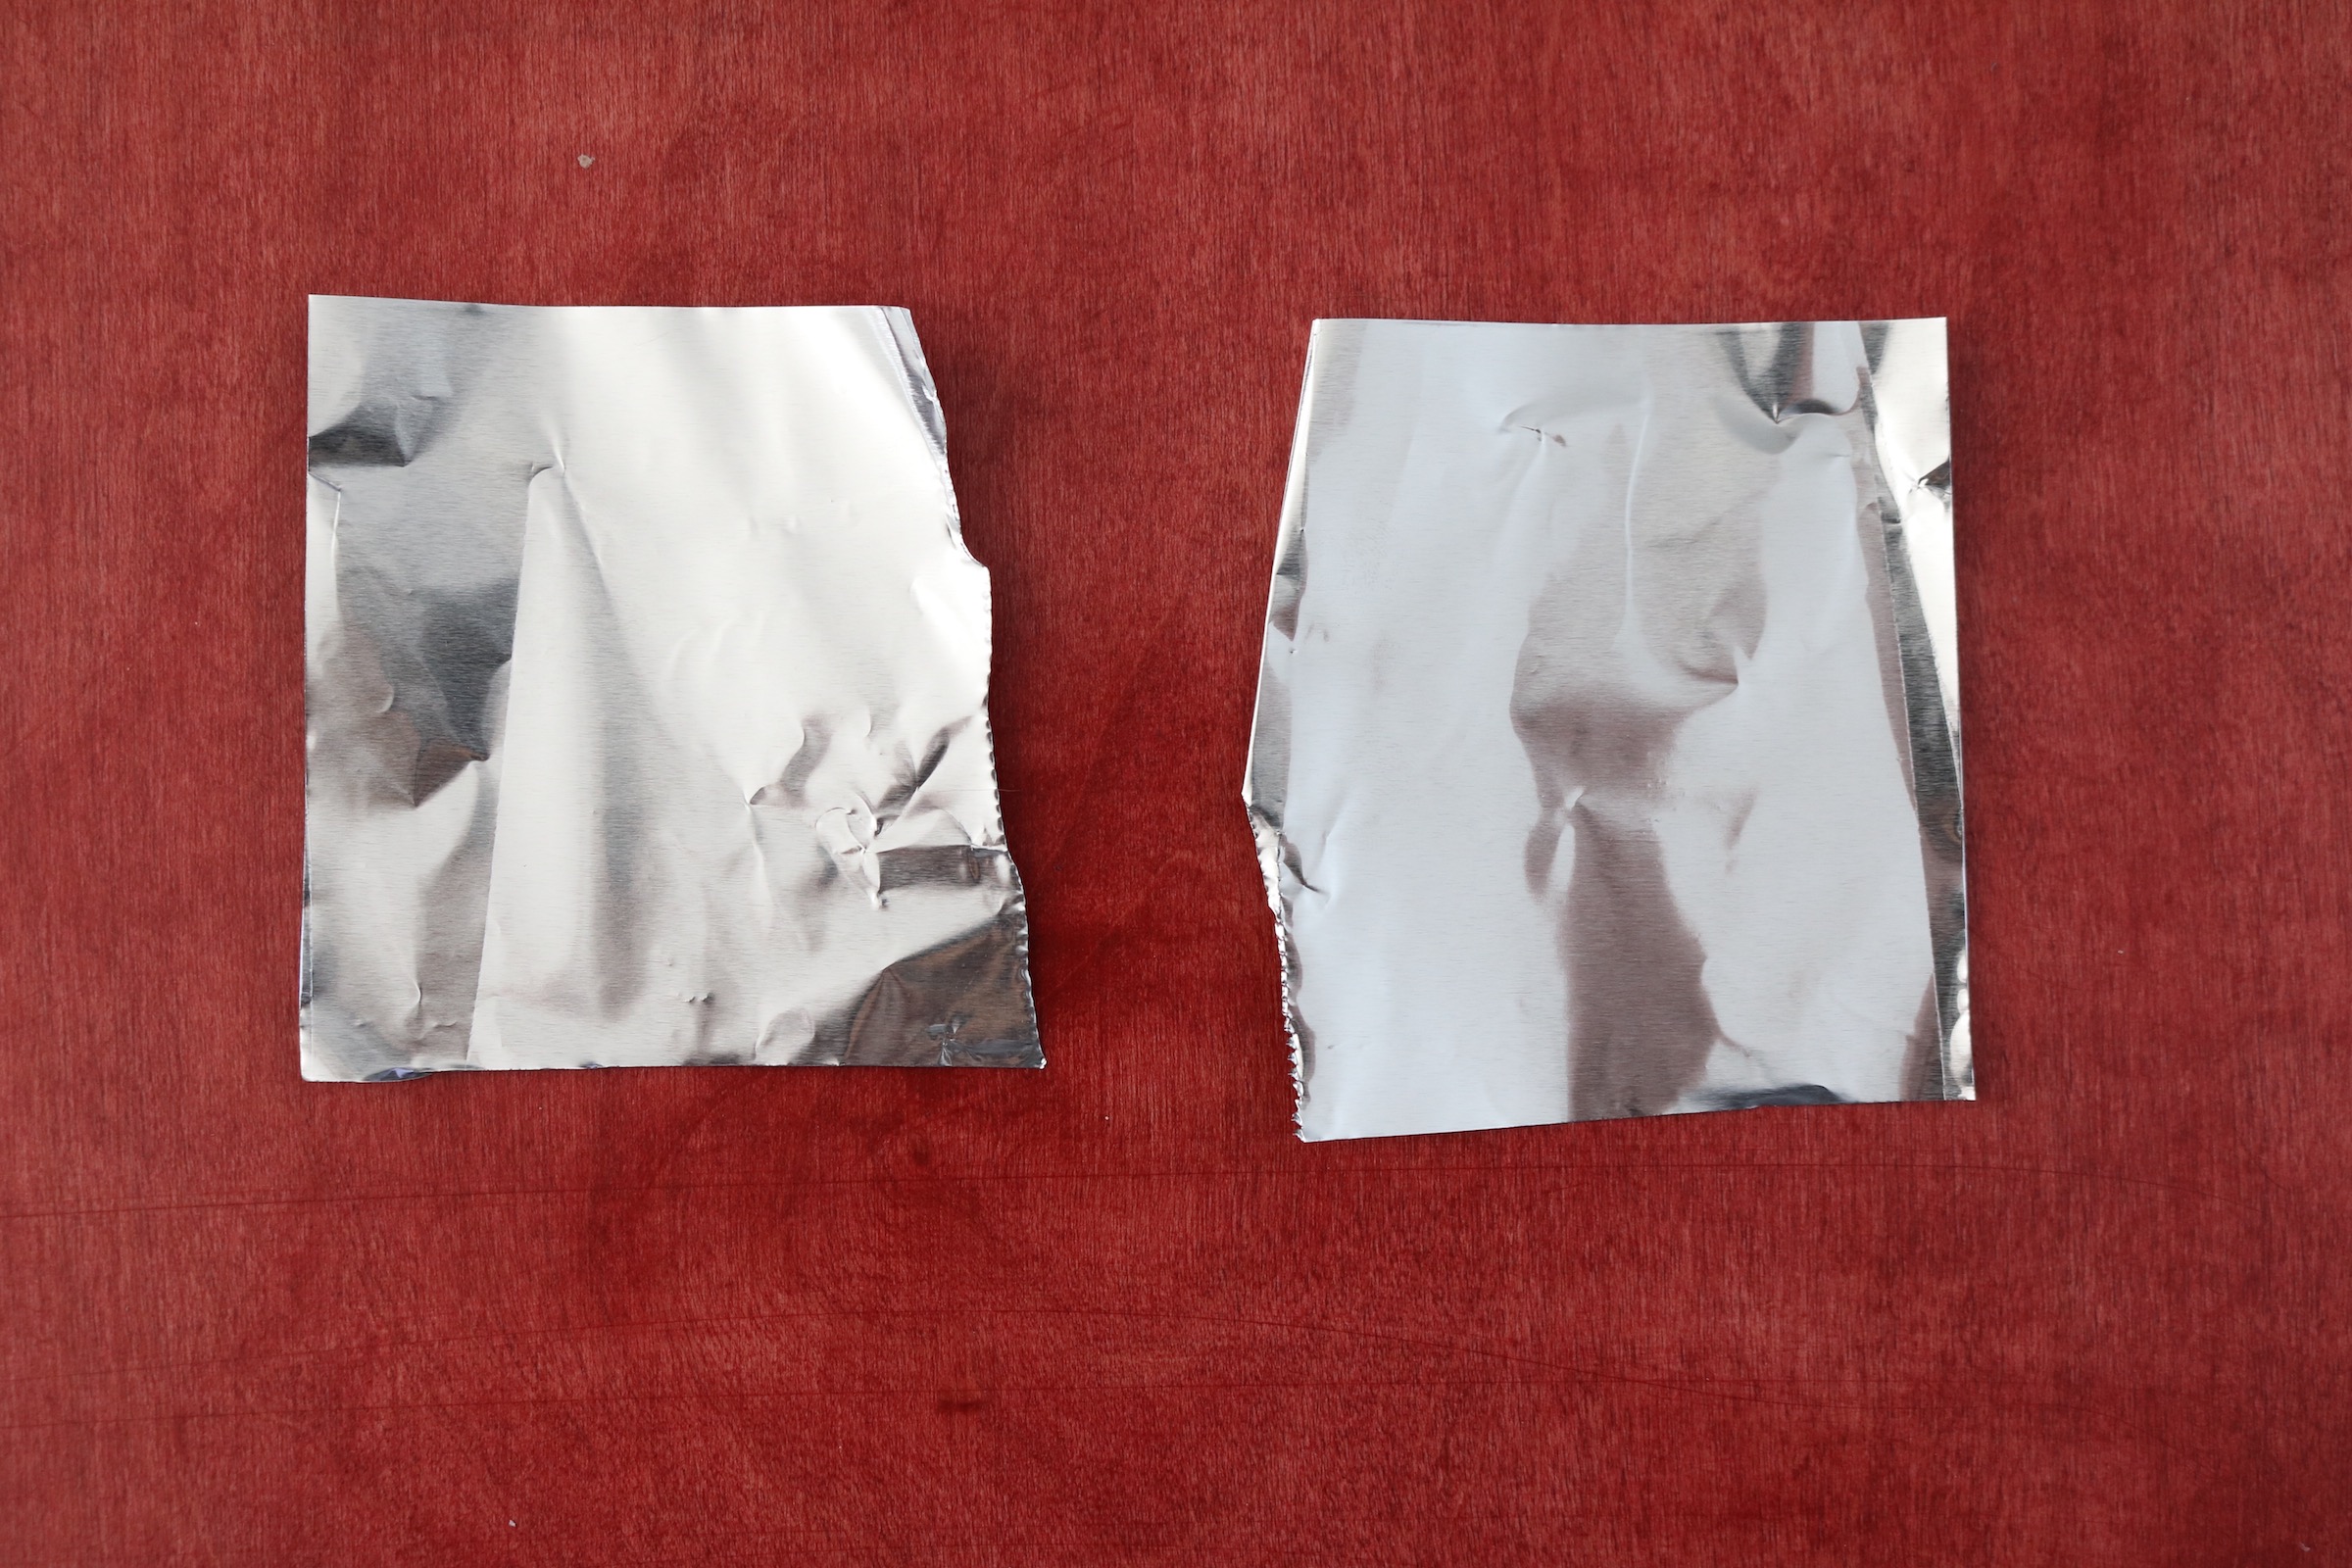
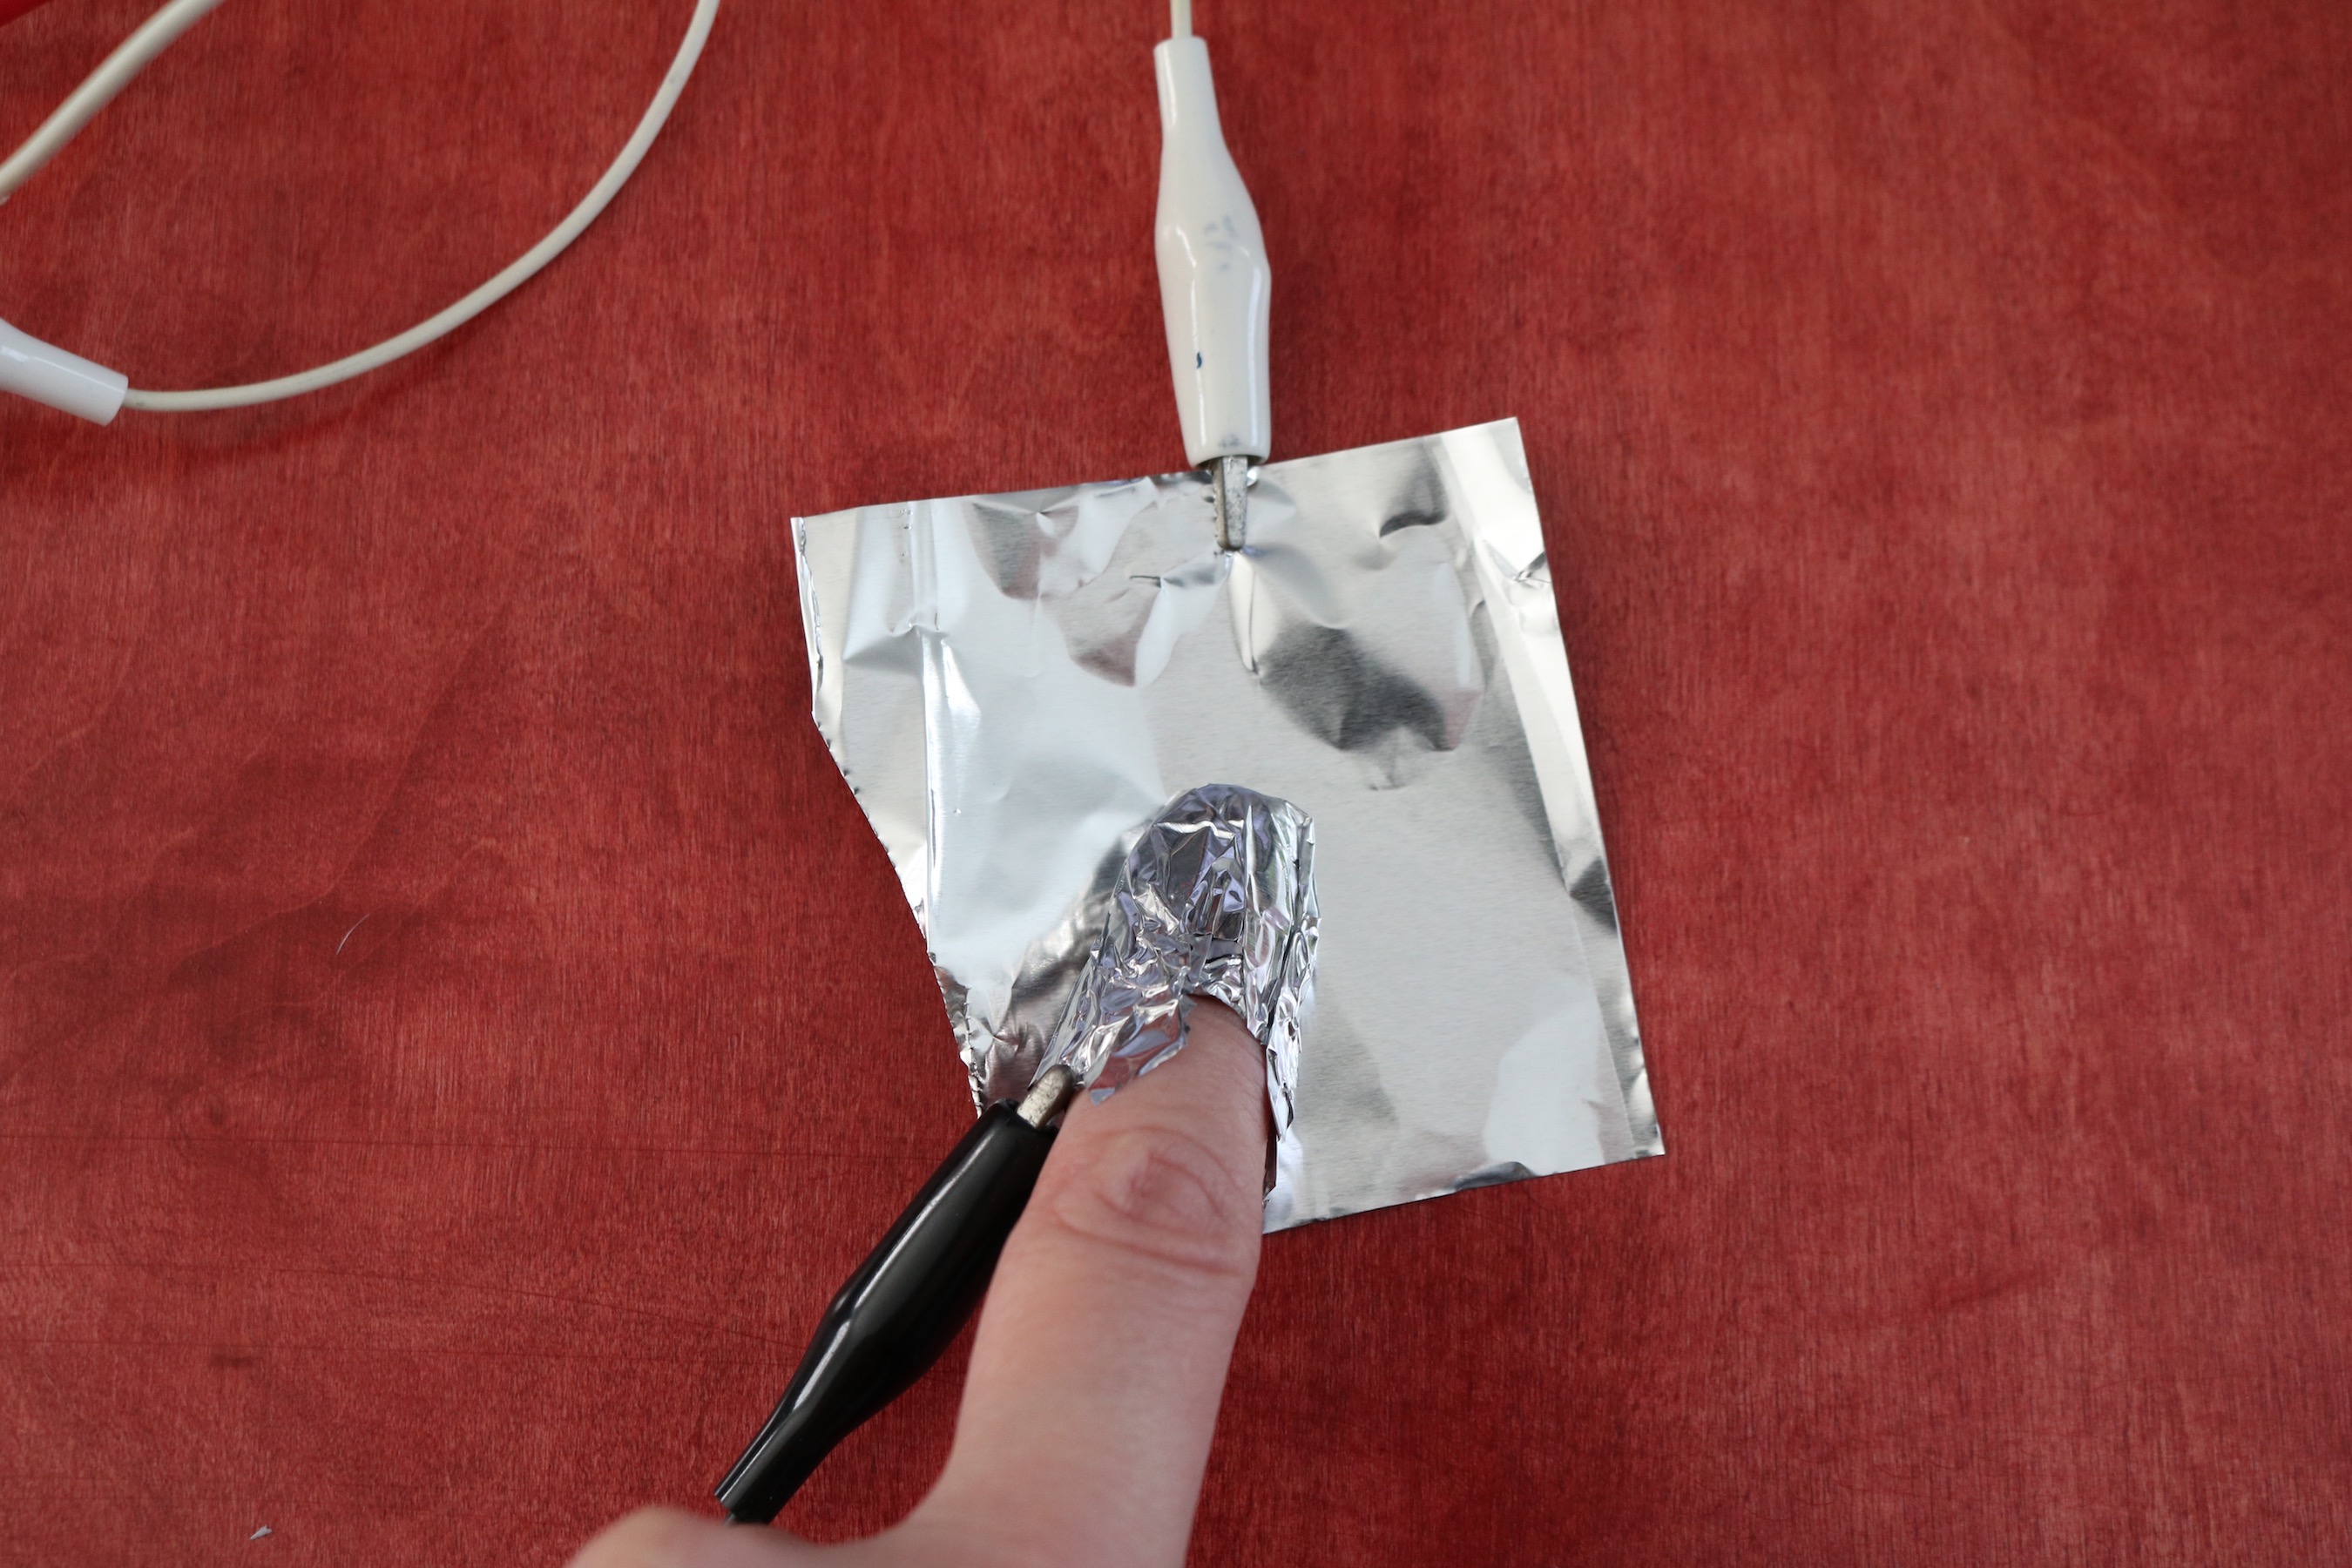
- Start with two small pieces of aluminum foil.
- One piece will be the positive side of your “button”
- The other piece will be the negative side of your “button”
- Attach one alligator clip to a piece of foil
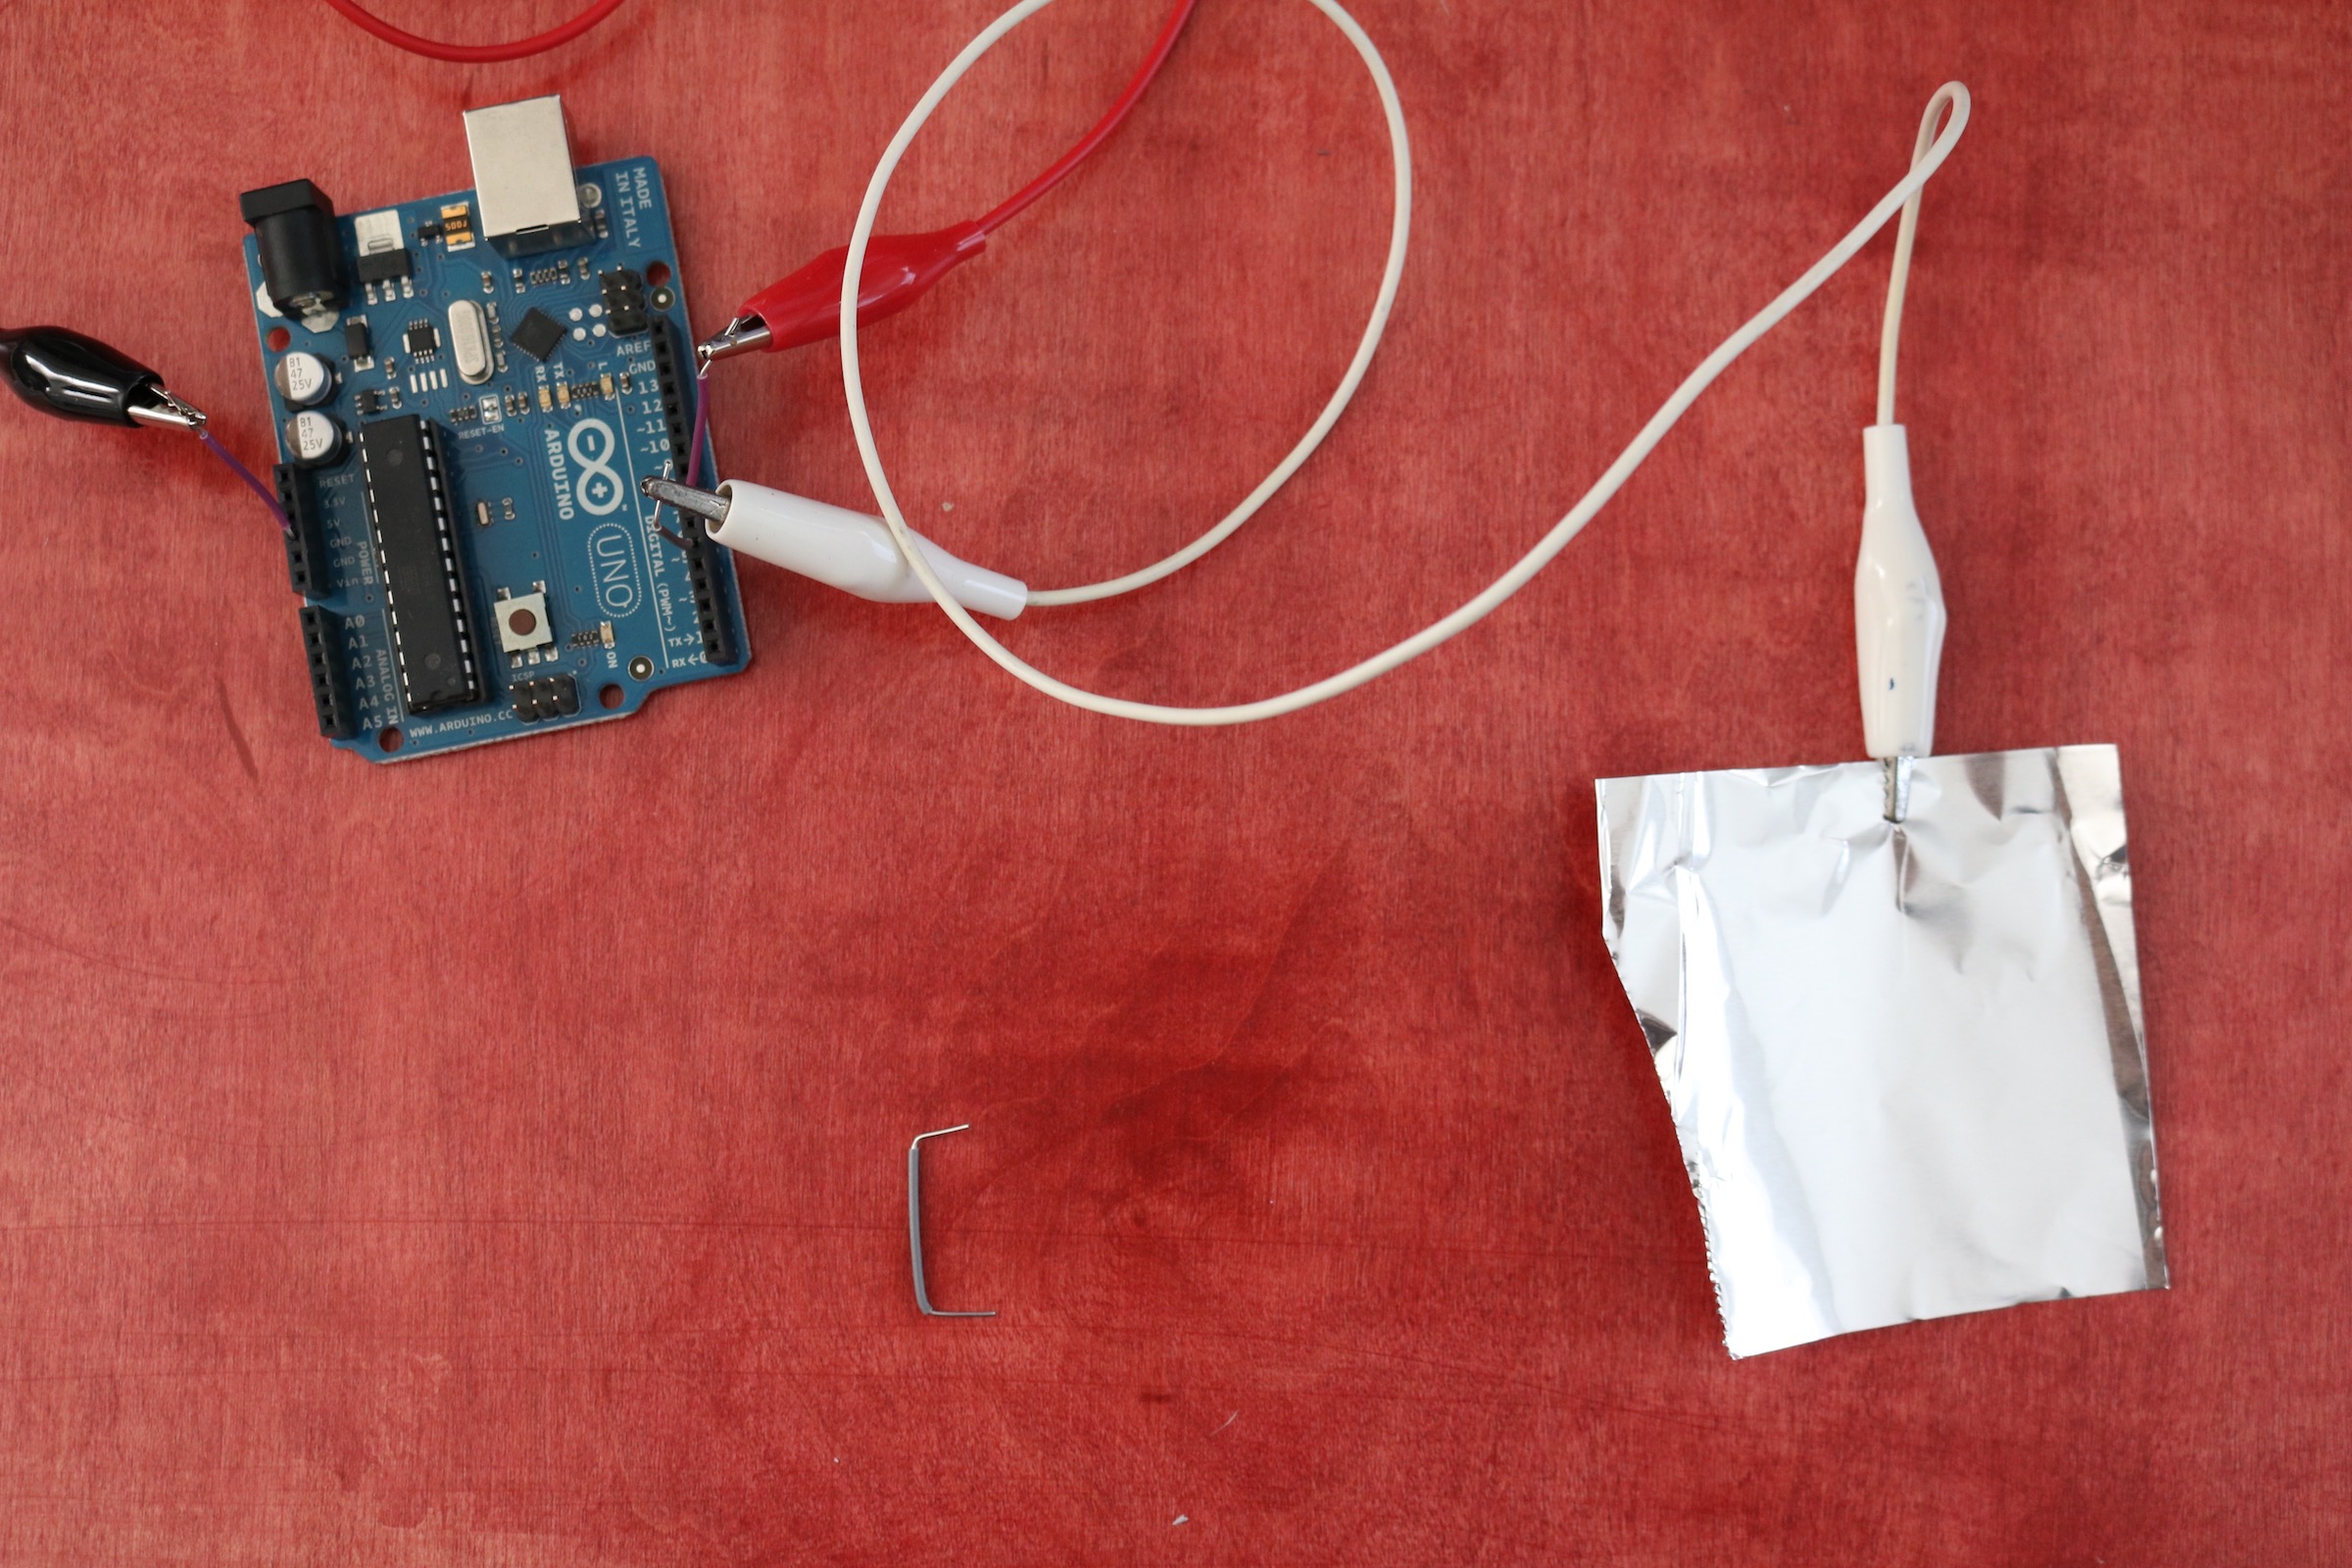
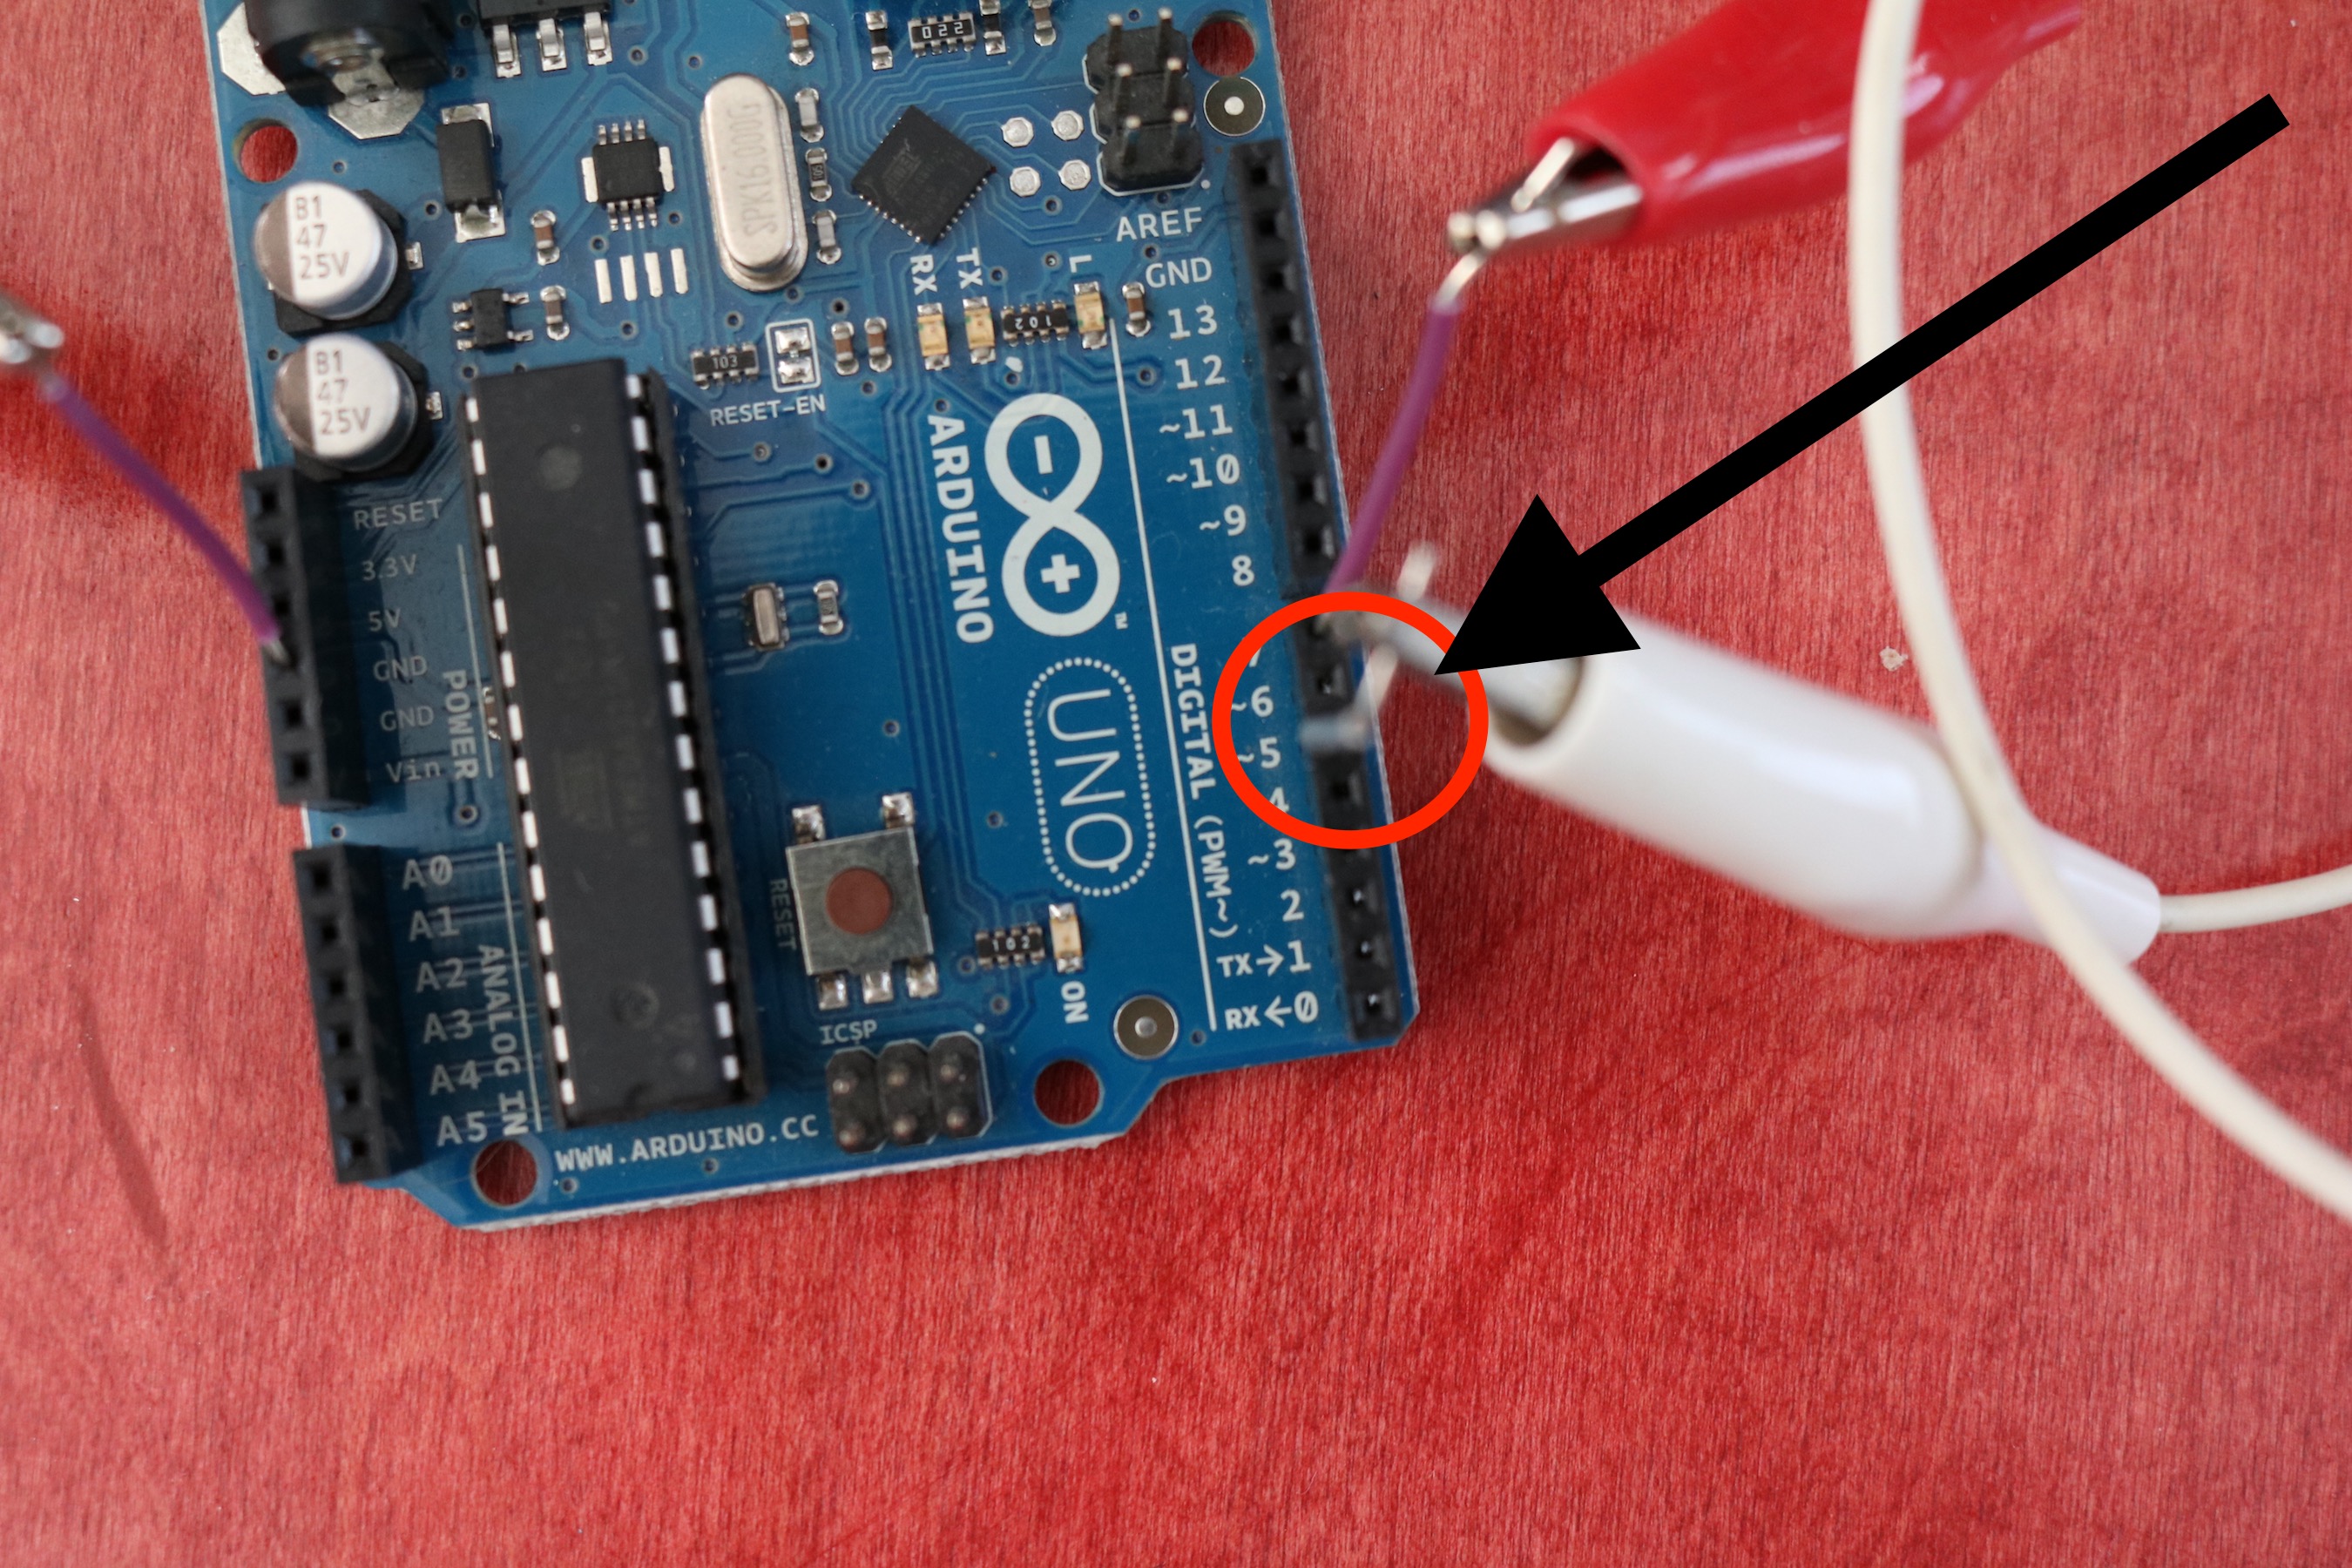
- Clip the other end of the alligator clip to a wire in pin 5 on the microcontroller
- Using a second alligator wire, attach one end to the other piece of foil
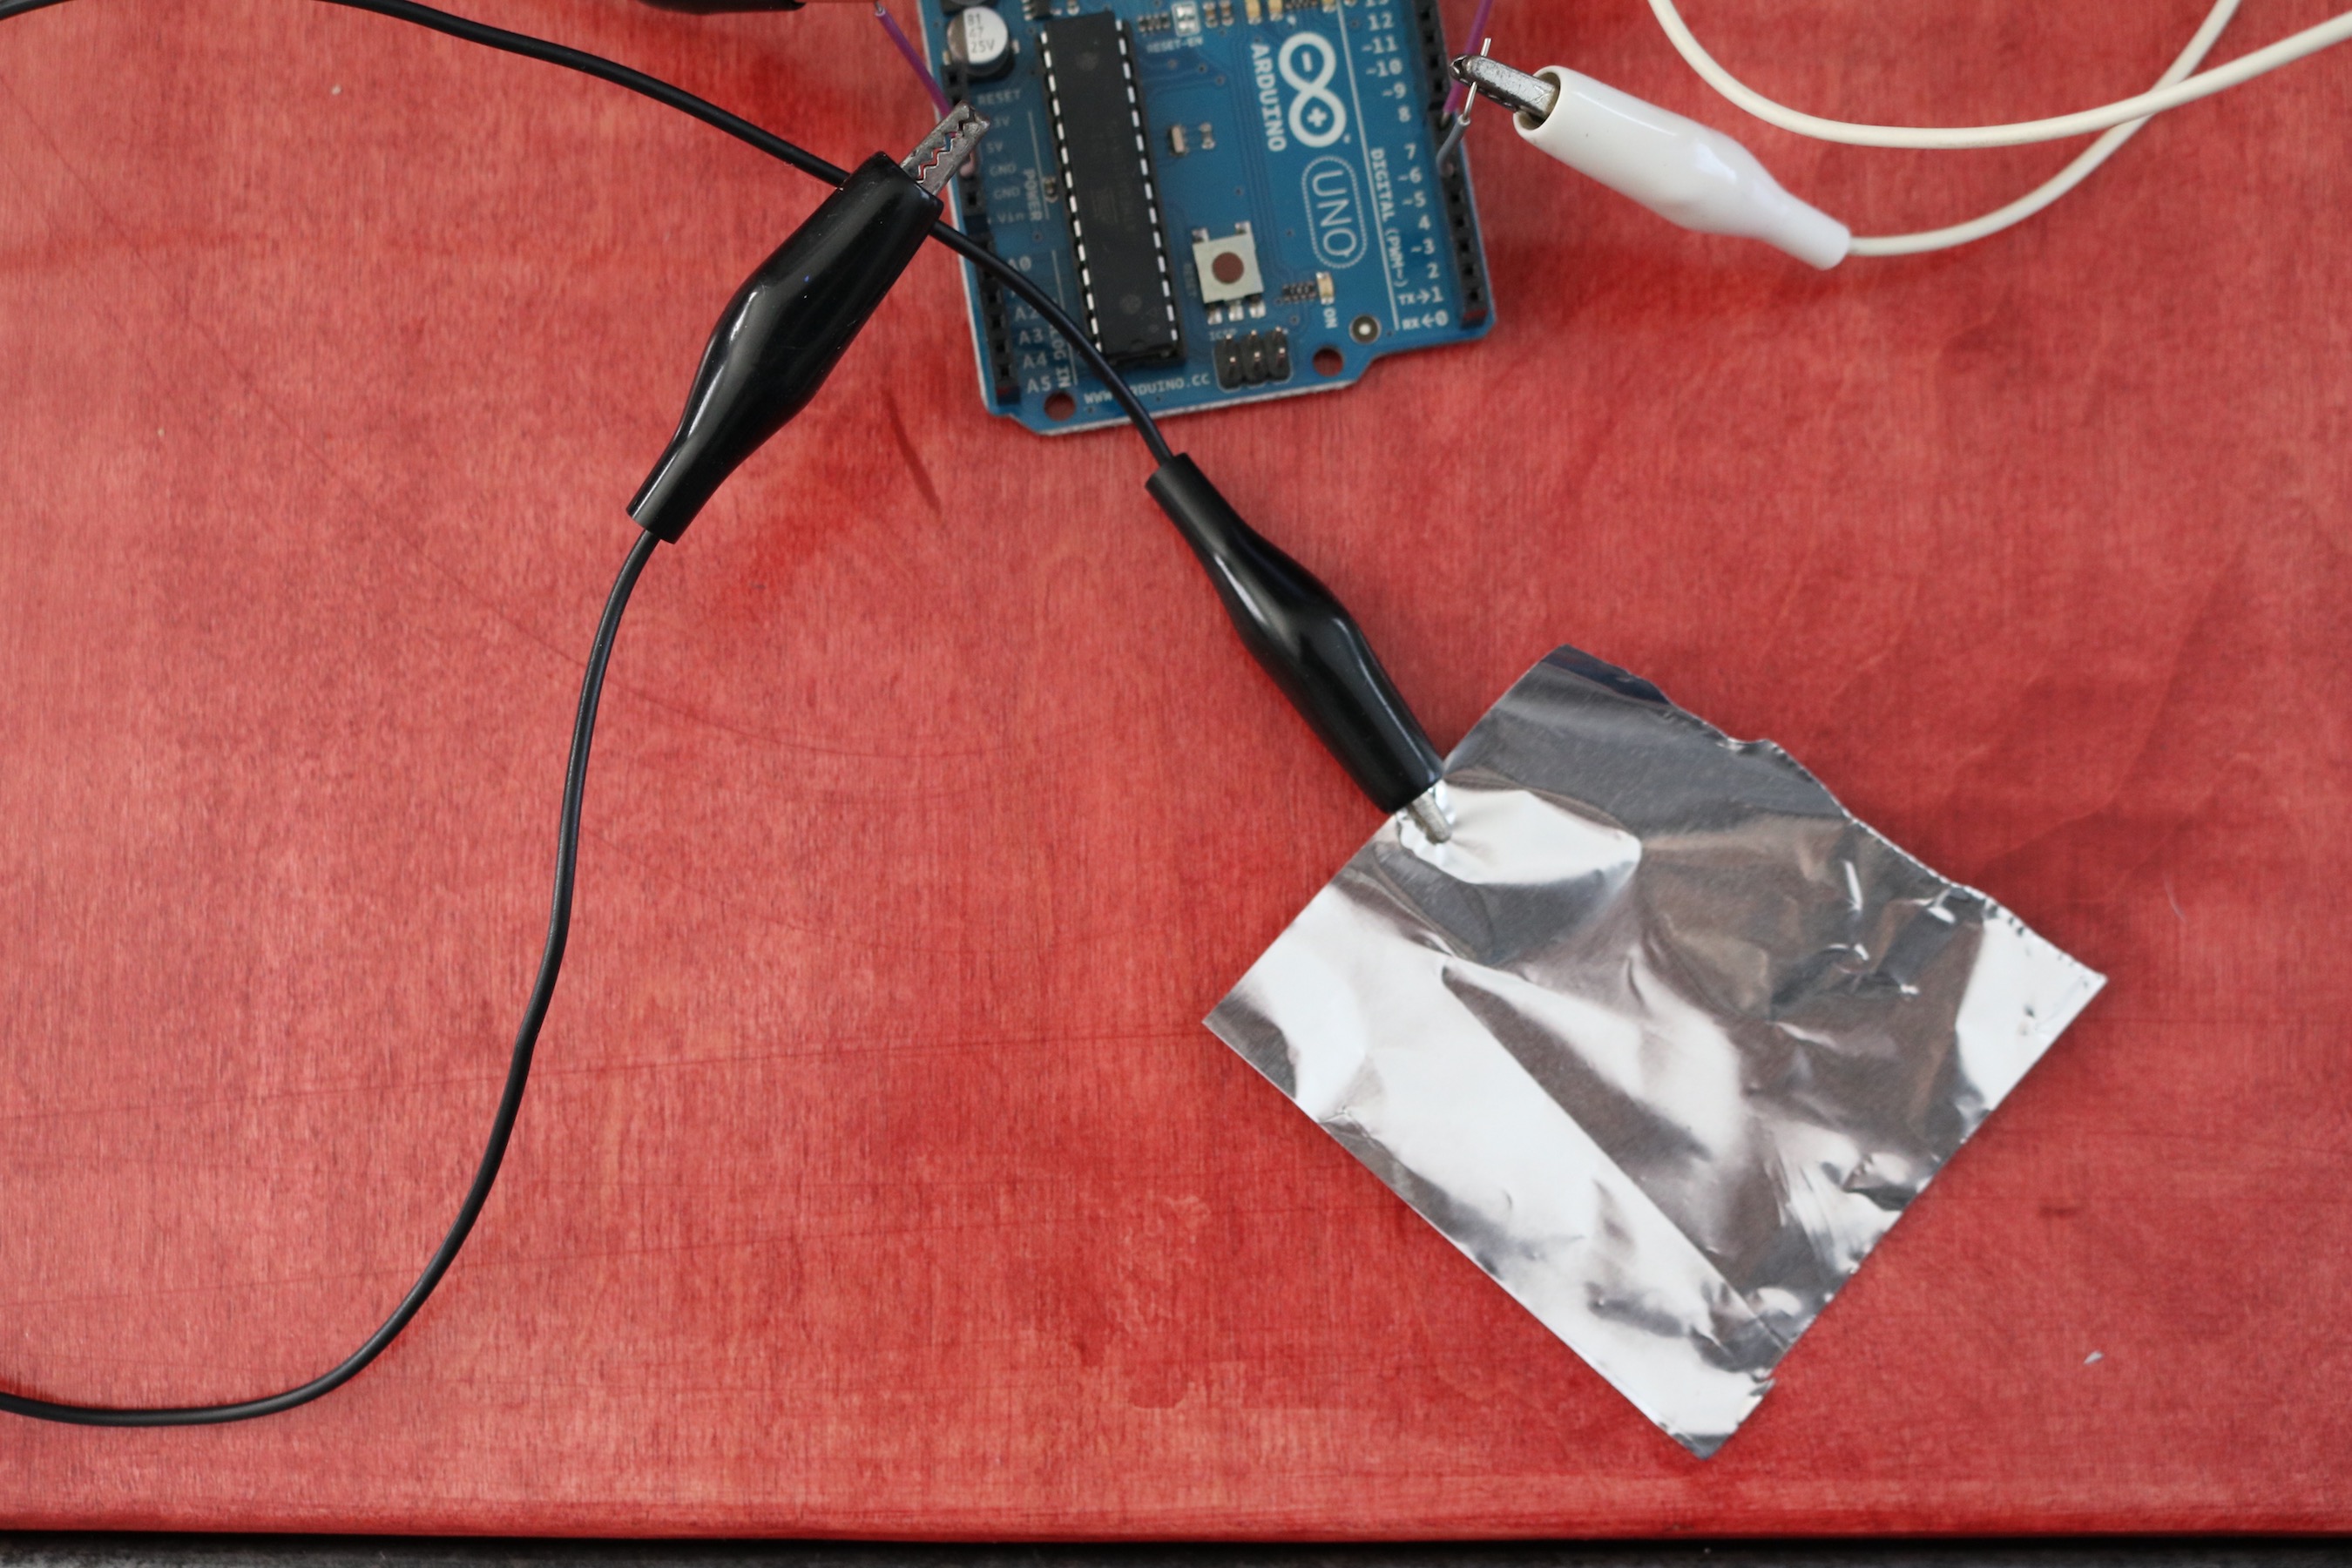
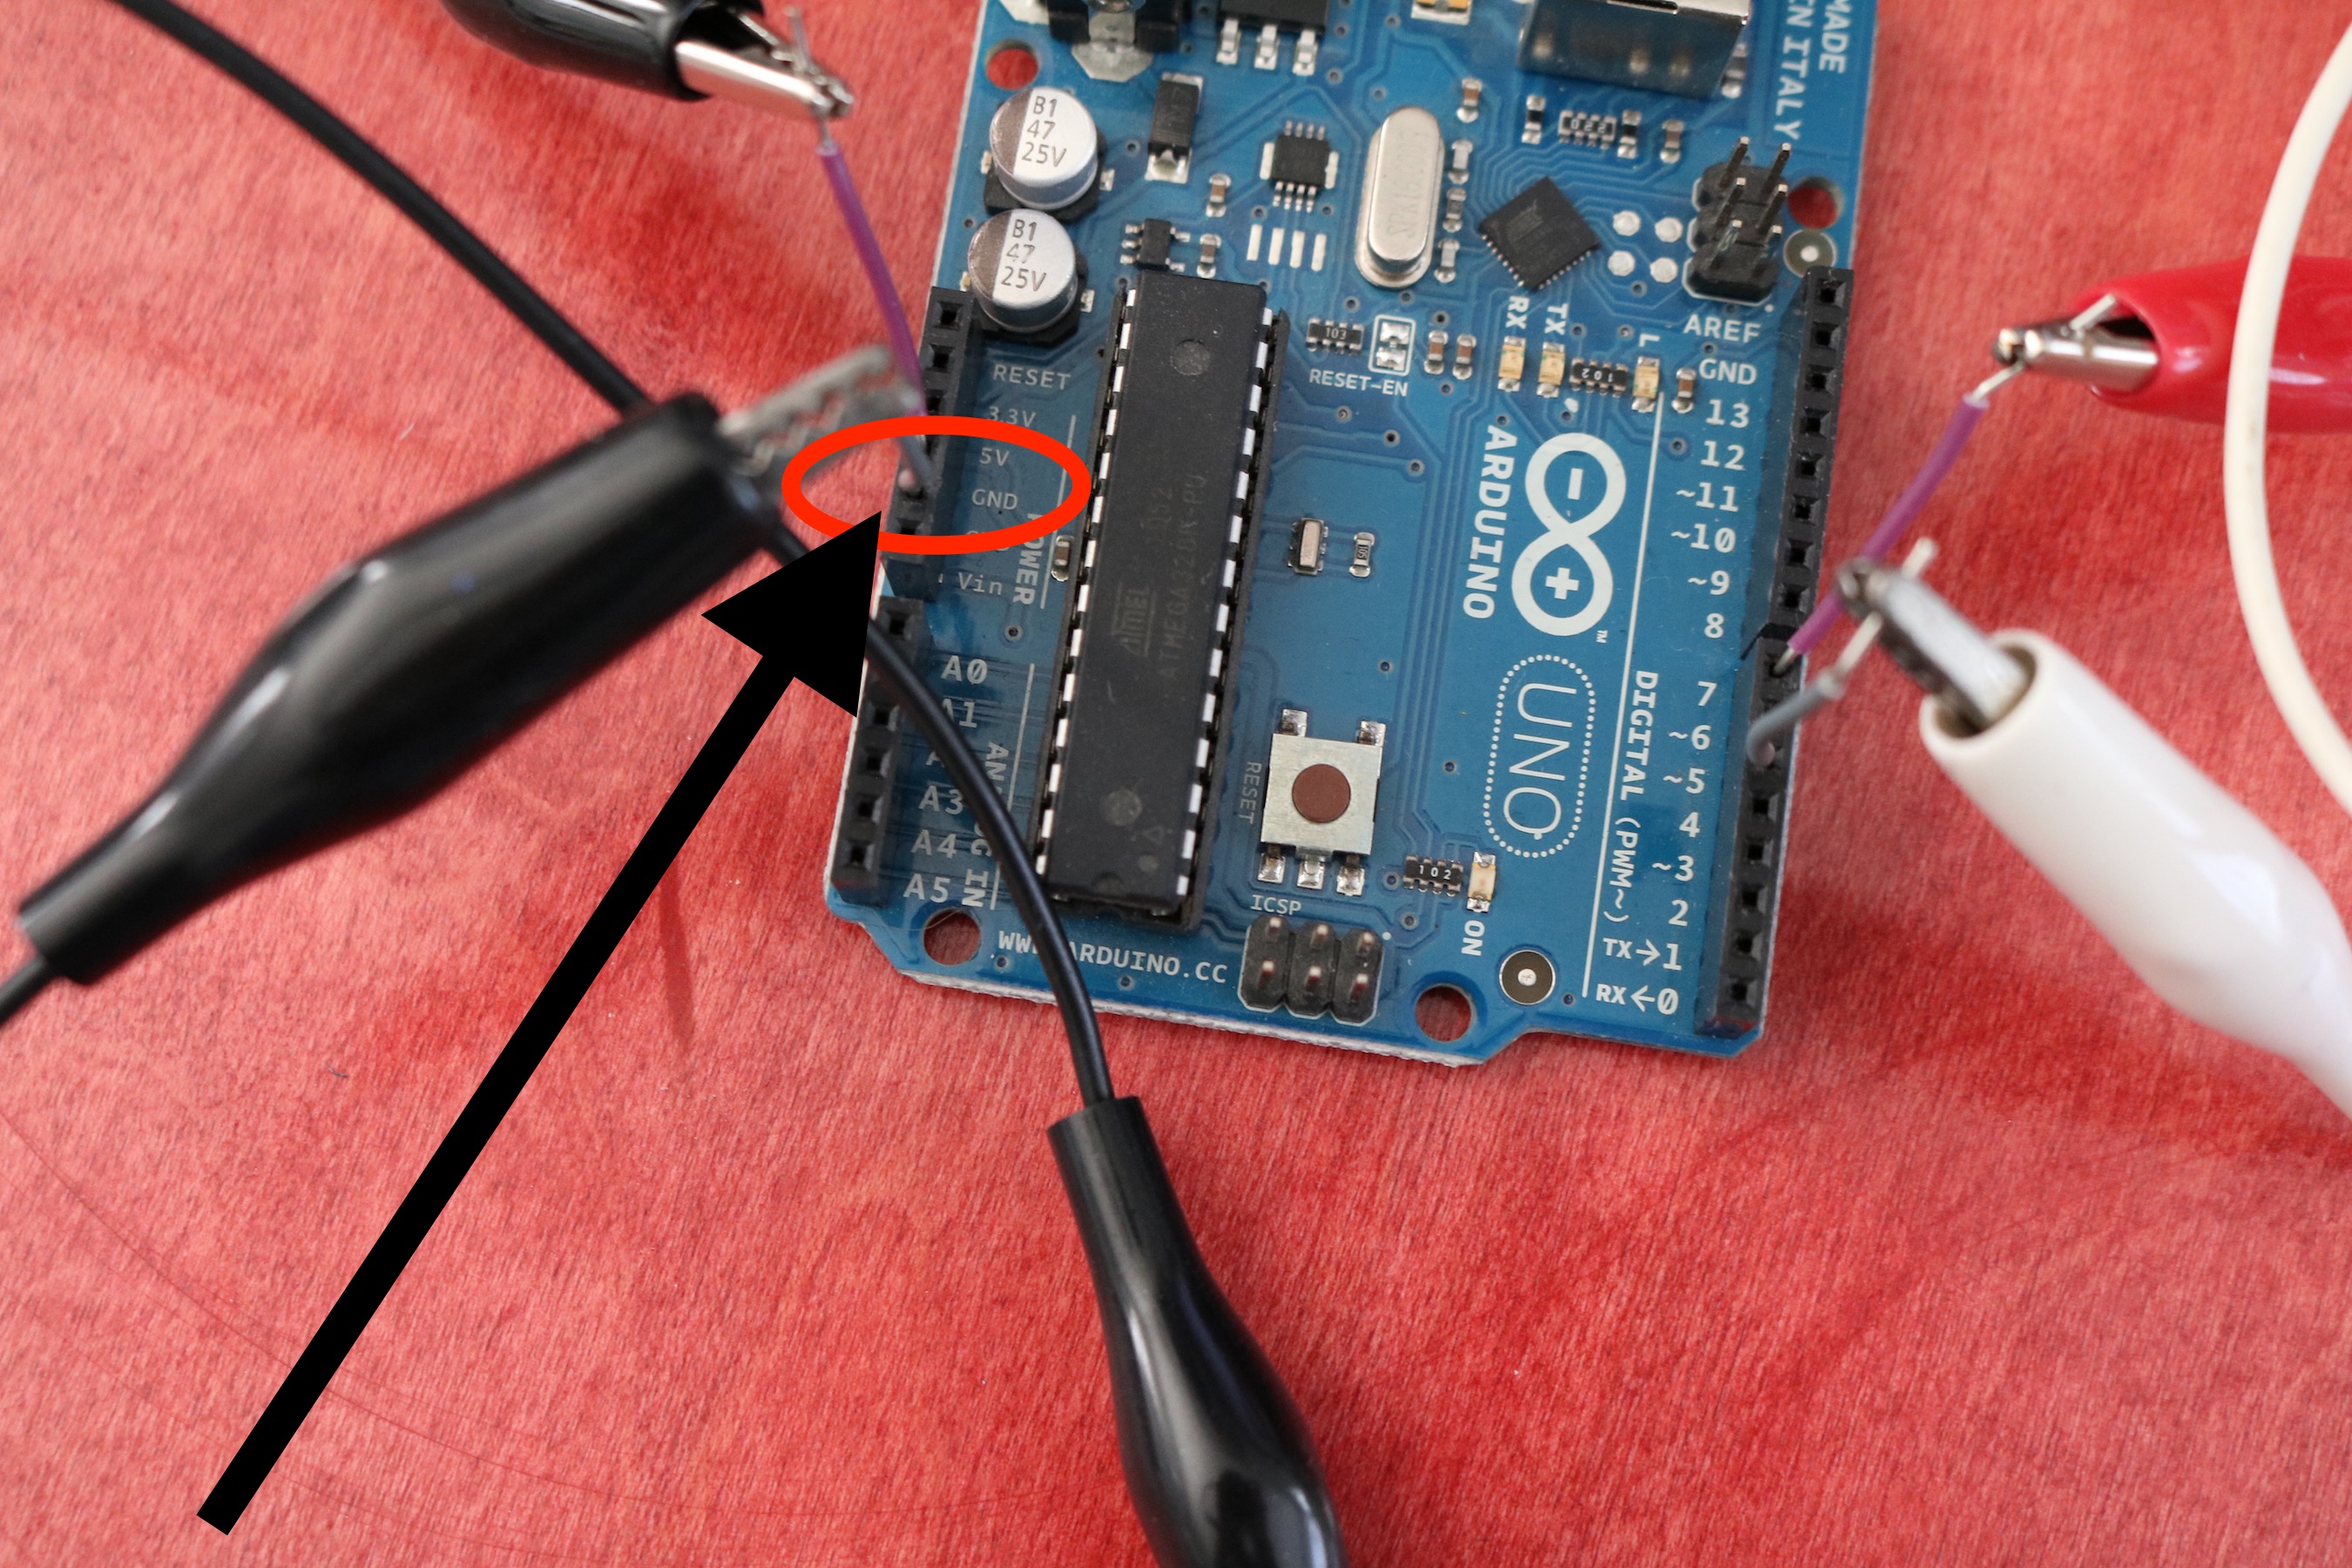
- Clip the other end of the alligator clip to a wire in the GND pin on the microcontroller
You created a circuit for your interface!
Next, we’ll upload an Arduino sketch that uses an output (the speaker) and an input (the foil button).
Coding The Microcontroller
- Download the file music_inputs_outputs
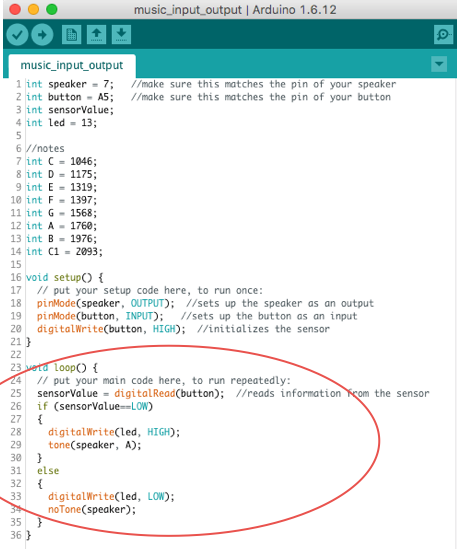
- Open the music_inputs_outputs file in your Arduino IDE
- Look at the void setup () section (see the image below)
- In the setup section, we declare that the button (pin 5 since that is where we inserted the wire) is an input.
- We then set the button to HIGH

- Now, look at the void loop section (See image below)
- Since we set the button to HIGH in our setup, the loop tells the speaker to play a tone if the sensorValue of the button is LOW
- Otherwise, or “else” make no tone
- Upload the code to your microcontroller
You have now built your interface. It’s time to play it!
- Touch the two pieces of foil together
- You should hear a tone.
Go Even Further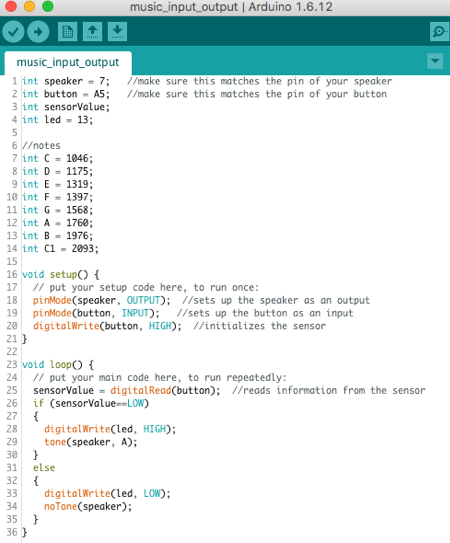
- Play with the code
One way to develop your instrument/interface is by playing around with the code to change what happens when you press the foil button by touching the two pieces of foil together.
See if you can figure out some of the following ways to develop your instrument/interface:
- Can you change the note that is played when the button is pressed?
- How can you program your instrument/interface to play a melody when you press the button?
- Can you make it so tones are played when the button is not pressed?
What else would you like to do with the code of your instrument/interface?
- Play with the button
Another way to develop your instrument/interface is by playing around with the button to try different ways to complete the circuit you made.
Try the following approach to pressing the button:
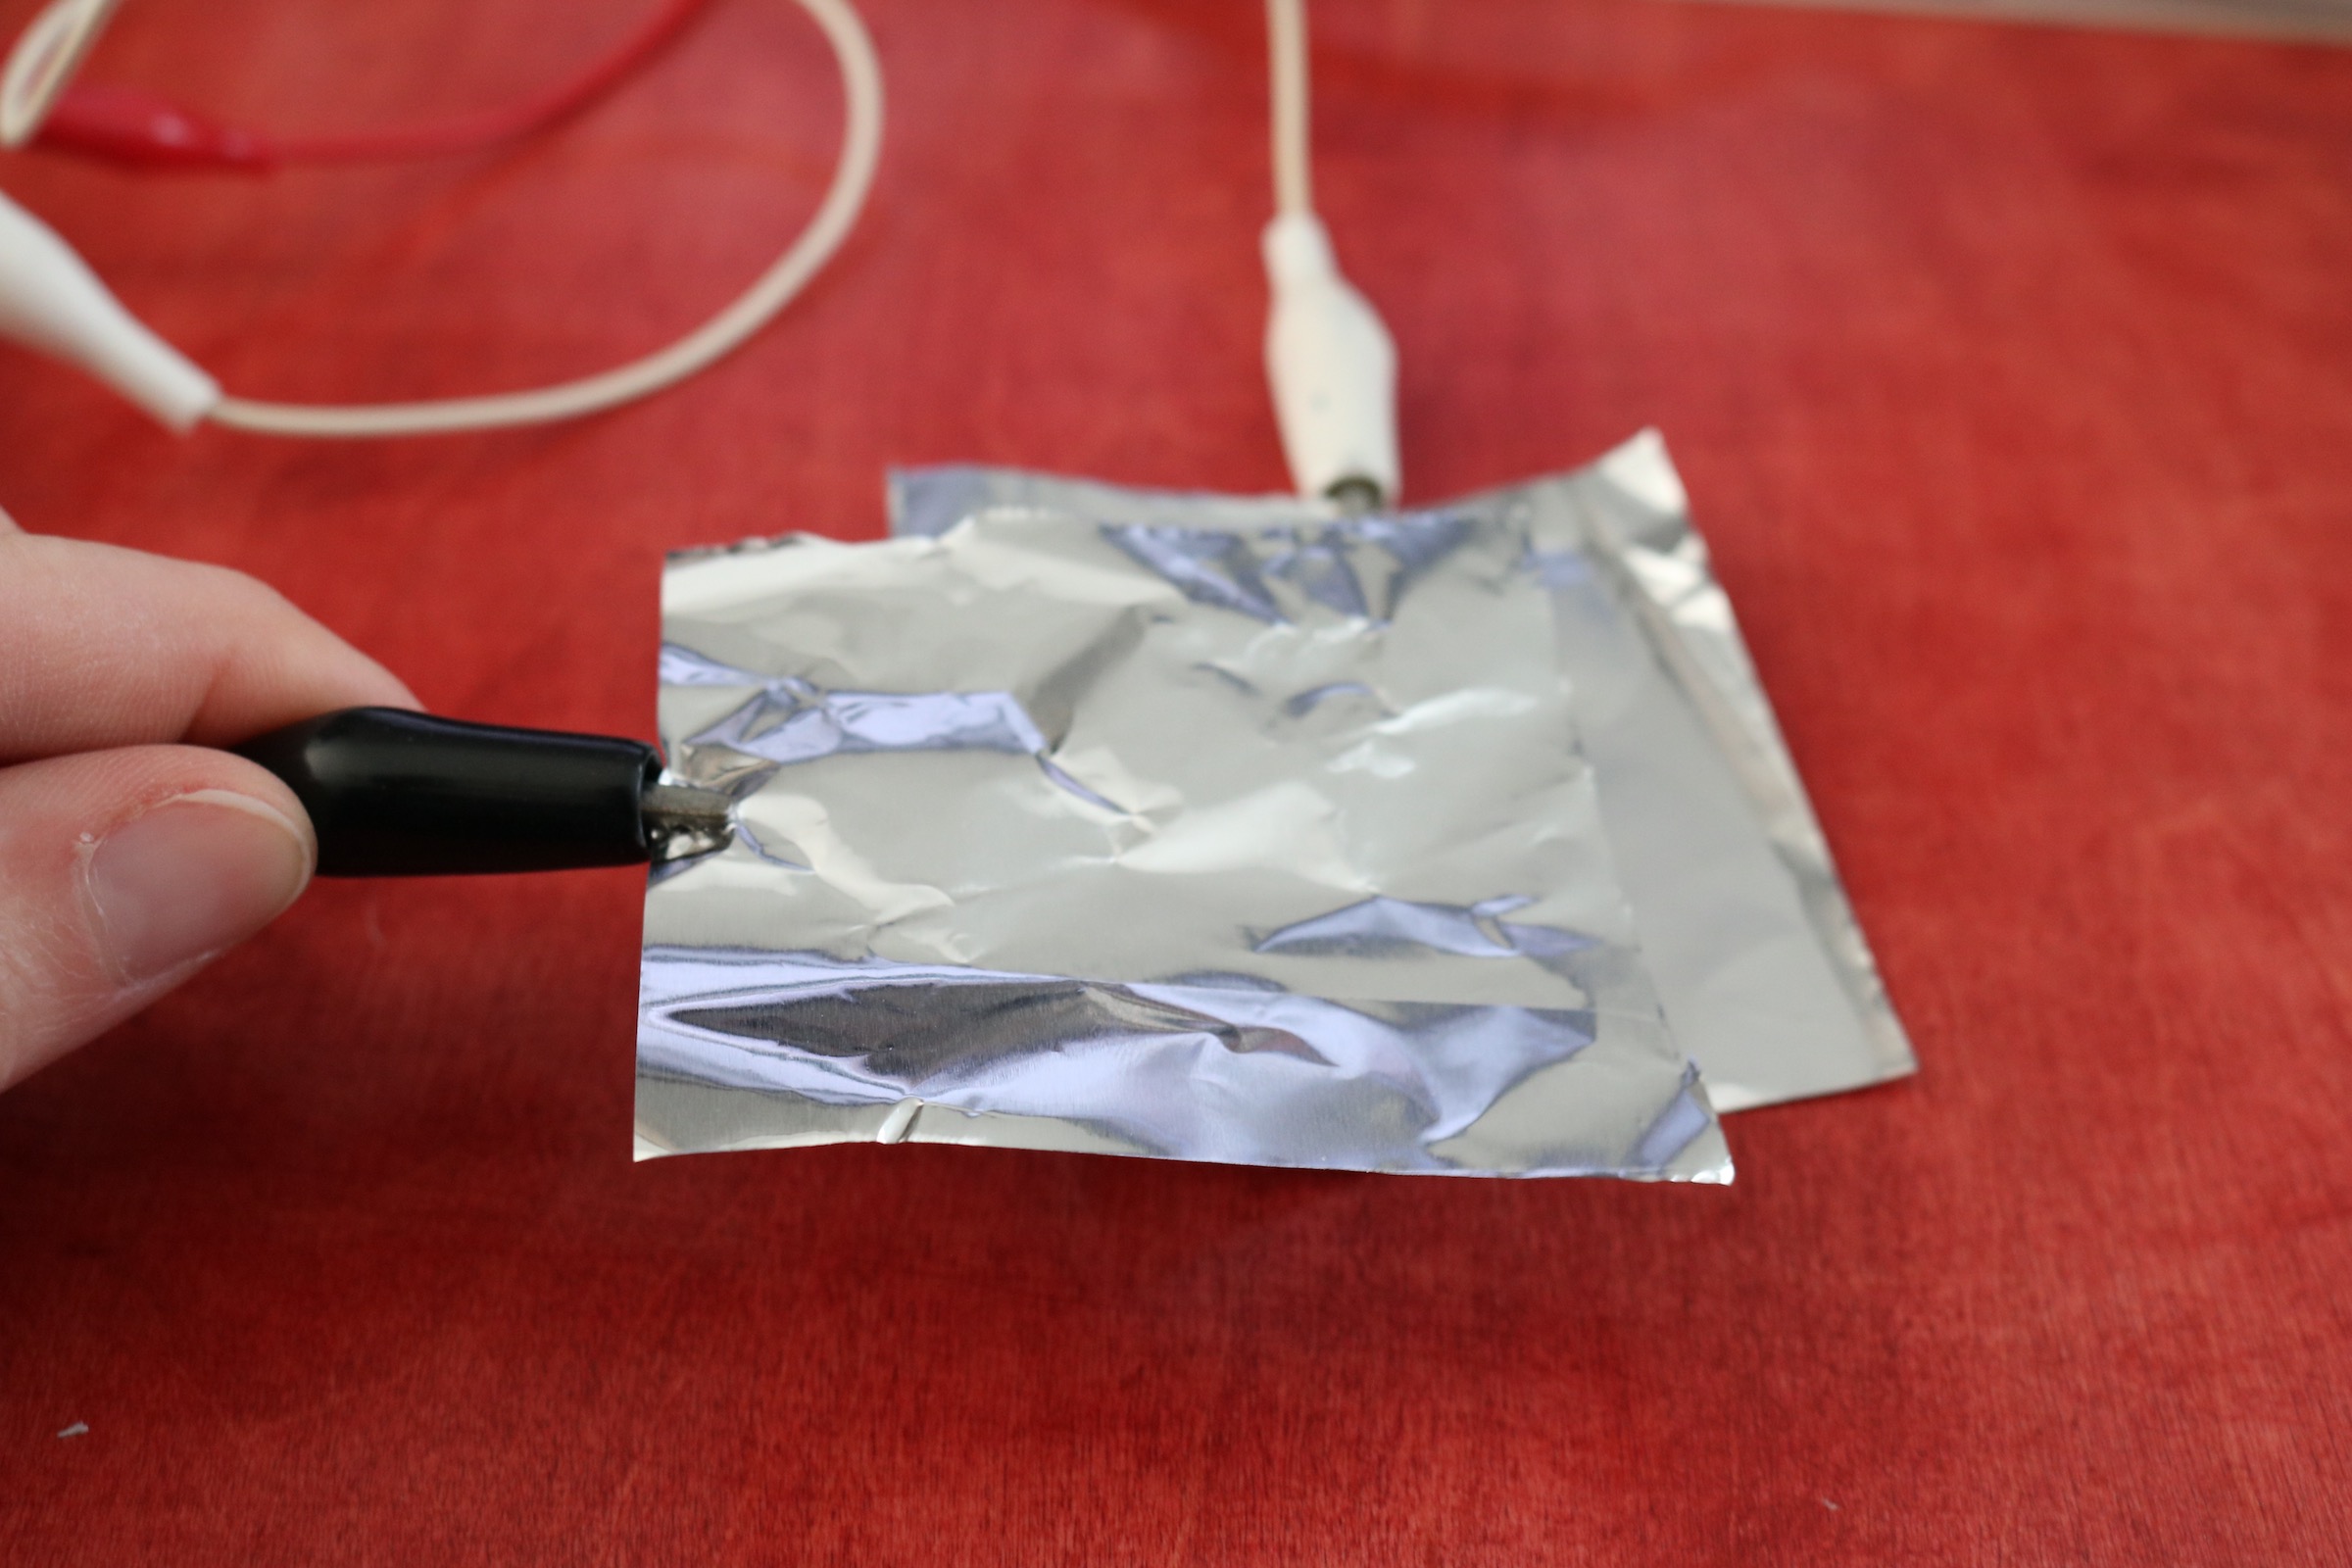
- Wrap one piece of foil around your finger
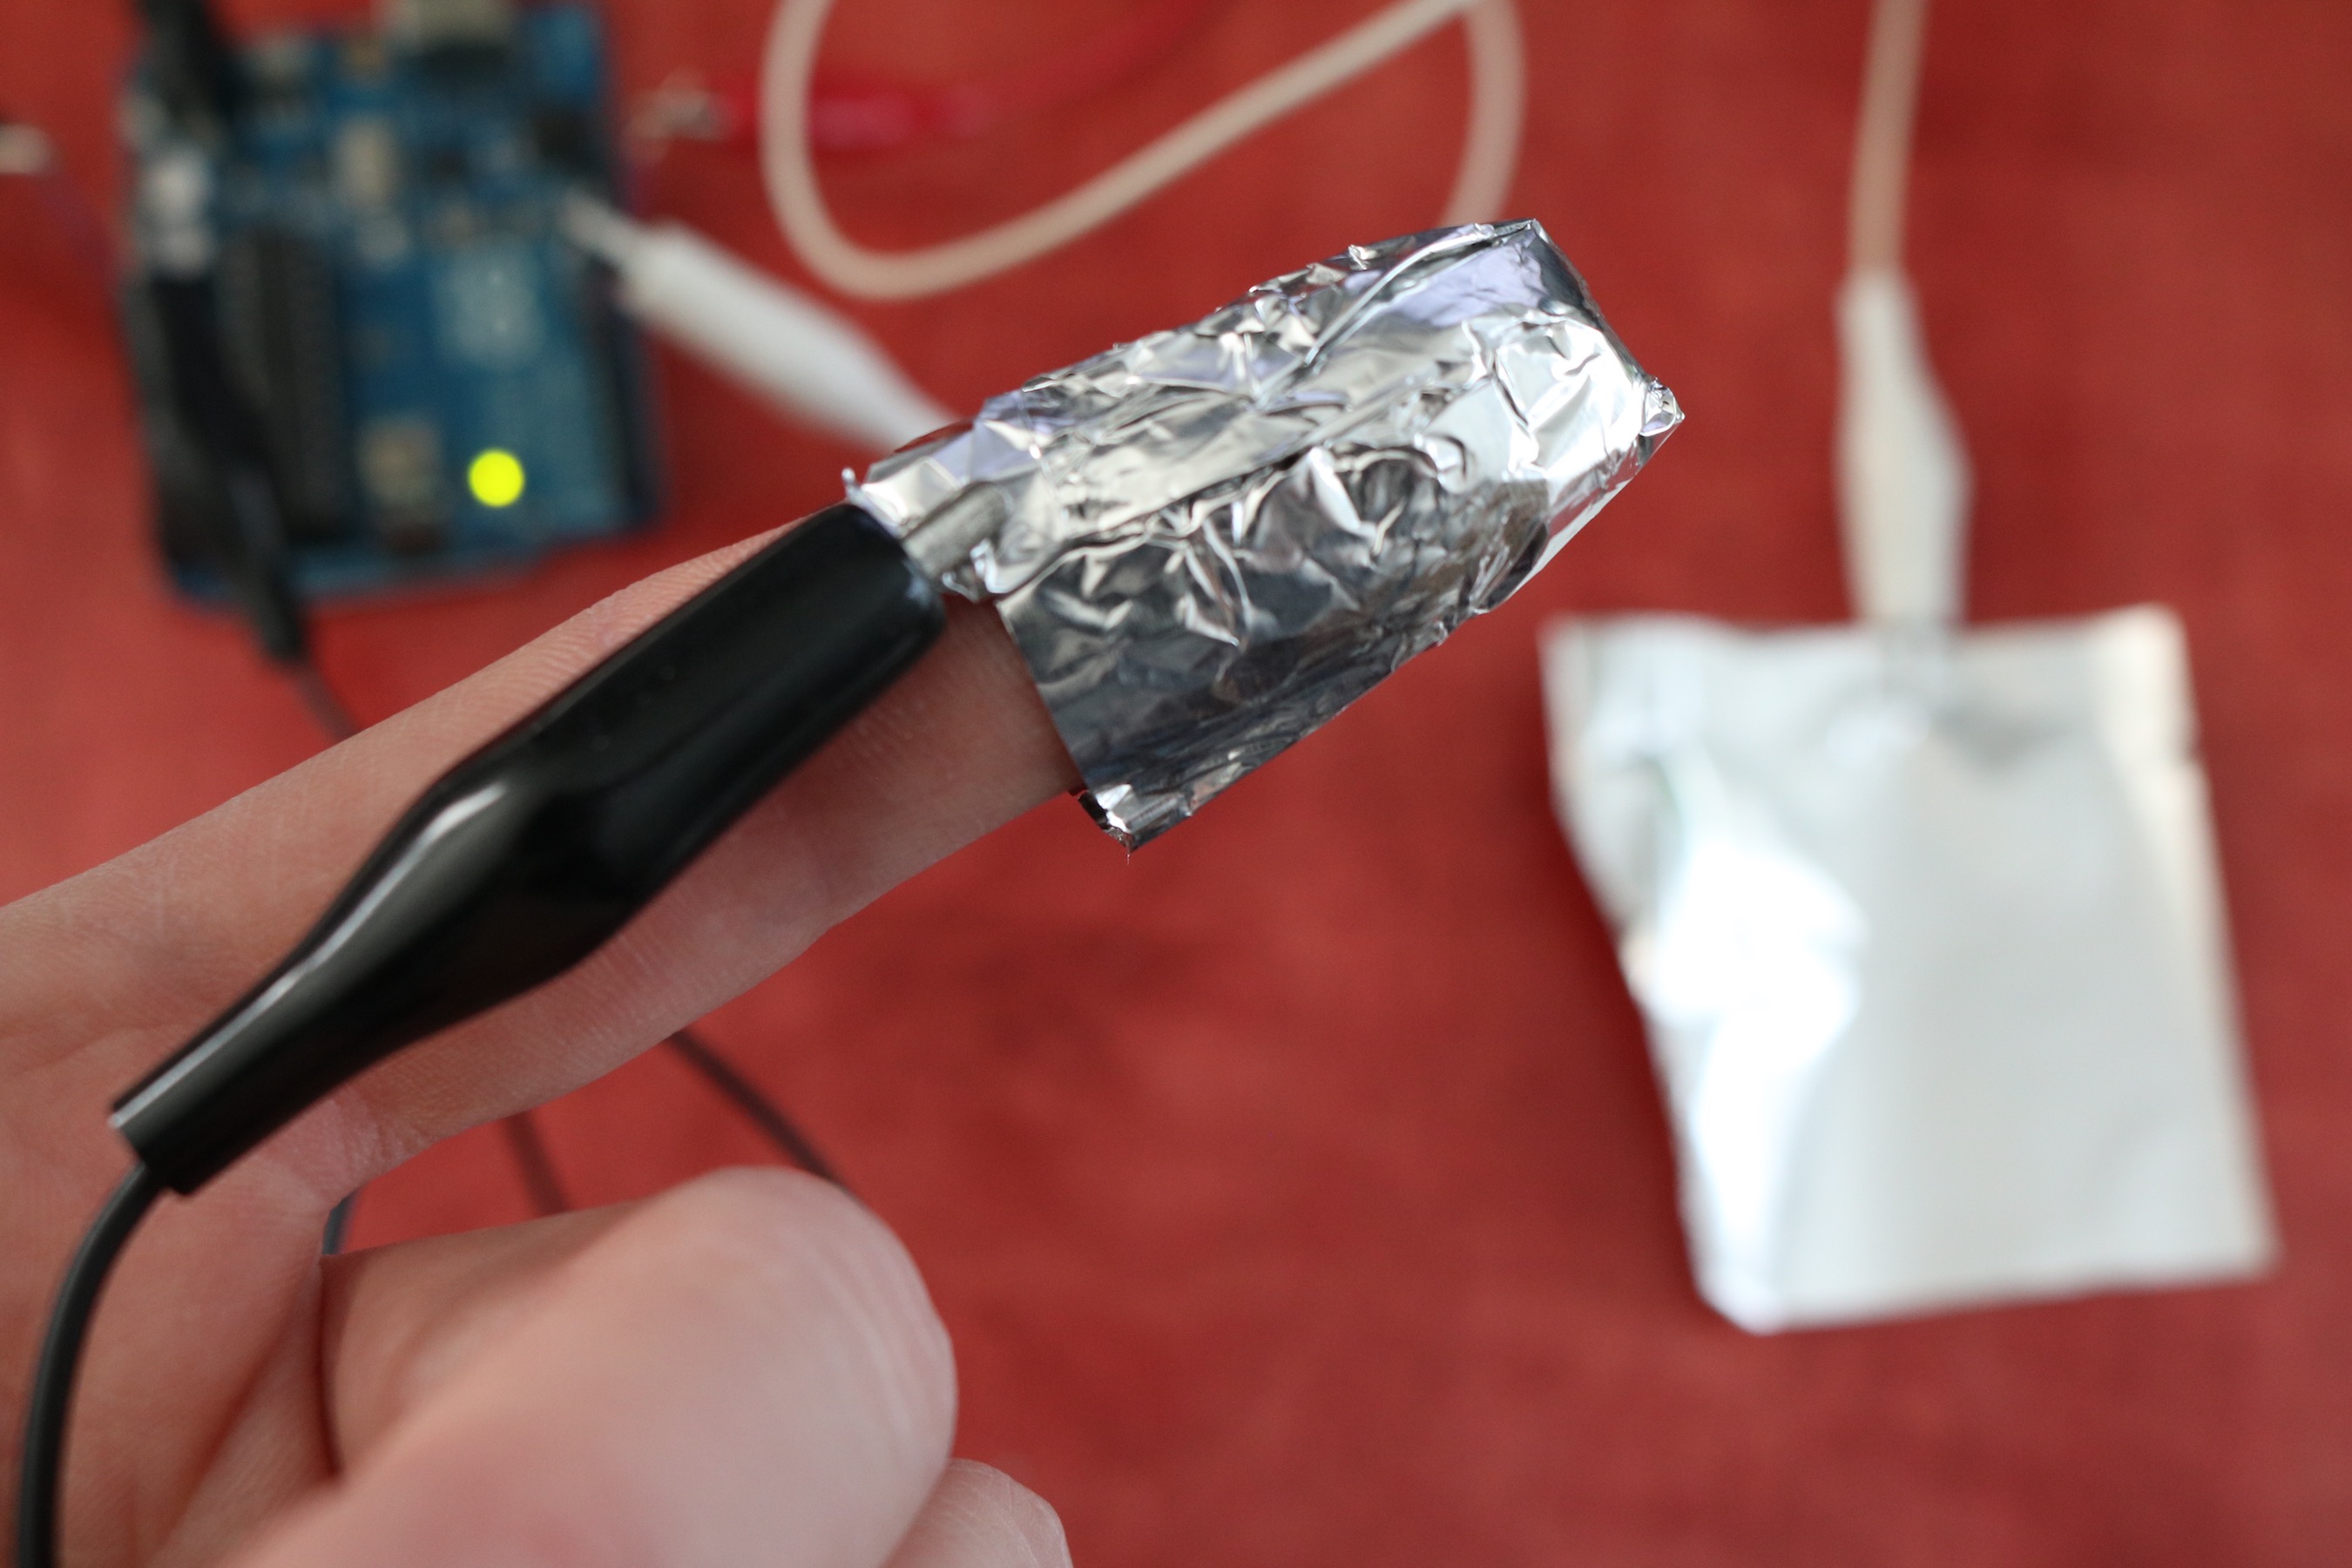
- Make sure the alligator clip is still attached to the foil and tap your foil finger on the other piece of foil
- See if you can figure out some of the following ways to develop your instrument/interface:
- What other ways can you design the foil button?
- What other materials besides foil can you clip onto the alligator clips to make a button?
- How can you make the button more sturdy and durable?
- How can you make the button look more like an instrument?
- How can you make a button that could be triggered with your feet instead of your fingers?
- How can you make a really big button?
- How can you make a really small button?
- How can you use more than one button?
What else would you like to do with the button of your instrument/interface?
Try creating a more advanced instrument now that you know the basics!
After you share what you learned below, return to the What types of instruments and interfaces can I make? XP and look for instruments and interfaces that are tagged with “Arduino” to try creating a more advanced instrument.
Share What You Learned
- Upload a video of you making a sound with your microcontroller
- Show your circuit, button, and code sketch in the video